I don't know about you but when I am a little fearful of a project, I find anything else in the world to work on. I will give you a little insight to my multi-page to do list here in a moment but, what did I do this morning? I made a new cover for my ironing board. Why? You ask. Because it felt like something I could accomplish and it NEEDED to be done.
On Friday I spiled a bunch of orange dye on my ironing board. I was working on a project and knew in my heart that a short cup and a long brush was a bad combination. Moments before the spill I said "that is sort of dumb". Did I listen to myself? No I did not. And the old ironing board cover did not fit and needed to be replaced for other reasons as well. So.... I justify spending an hour this morning making a new cover.
So since this is supposed to be a sewing blog and not a whine about crap blog here is how I made the cover.
First I looked on Pinterest for inspiration.
Here was the one that I "used"
http://blog.plushaddict.co.uk/2013/05/22/ironing-boards-recover-tutorial/
Materials*
Insul-Bright Insulating Fabric
Fleece
Cover fabric - I used an Alexander Henry print cotton
*how much you need depends on length and width of your board. Mine is long and extra wide so I am not giving measurements or amount of fabric.
Ok off to do some real work... well ... ok yeah I really have to now.
- C
On Friday I spiled a bunch of orange dye on my ironing board. I was working on a project and knew in my heart that a short cup and a long brush was a bad combination. Moments before the spill I said "that is sort of dumb". Did I listen to myself? No I did not. And the old ironing board cover did not fit and needed to be replaced for other reasons as well. So.... I justify spending an hour this morning making a new cover.
So since this is supposed to be a sewing blog and not a whine about crap blog here is how I made the cover.
First I looked on Pinterest for inspiration.
Here was the one that I "used"
http://blog.plushaddict.co.uk/2013/05/22/ironing-boards-recover-tutorial/
Materials*
Insul-Bright Insulating Fabric
Fleece
Cover fabric - I used an Alexander Henry print cotton
*how much you need depends on length and width of your board. Mine is long and extra wide so I am not giving measurements or amount of fabric.
- Take old cover off.
- Find some inspiring music, I am listening to the "Hipster Halloween" station on Pandora right now
- Set up your naked ironing board and use the Insul-Bright to make a template. you want about a 2 inch overhang all around the edges of your board surface.
- Use your template to cut out your fleece and your cover fabric.
- Cover on top, Insul-Bright in the middle, fleece on the bottom, pin your layers together.
- Serge your 3 layers together, taking the pins out as you go.
- Measure your elastic to be 2/3 the size of the circumference of your board.
- Stretch your elastic on as you sew it to the edge of your new snazzy cover. Use a wide zig-zag stitch
- Put your new cover on so you can stand back and admire it.
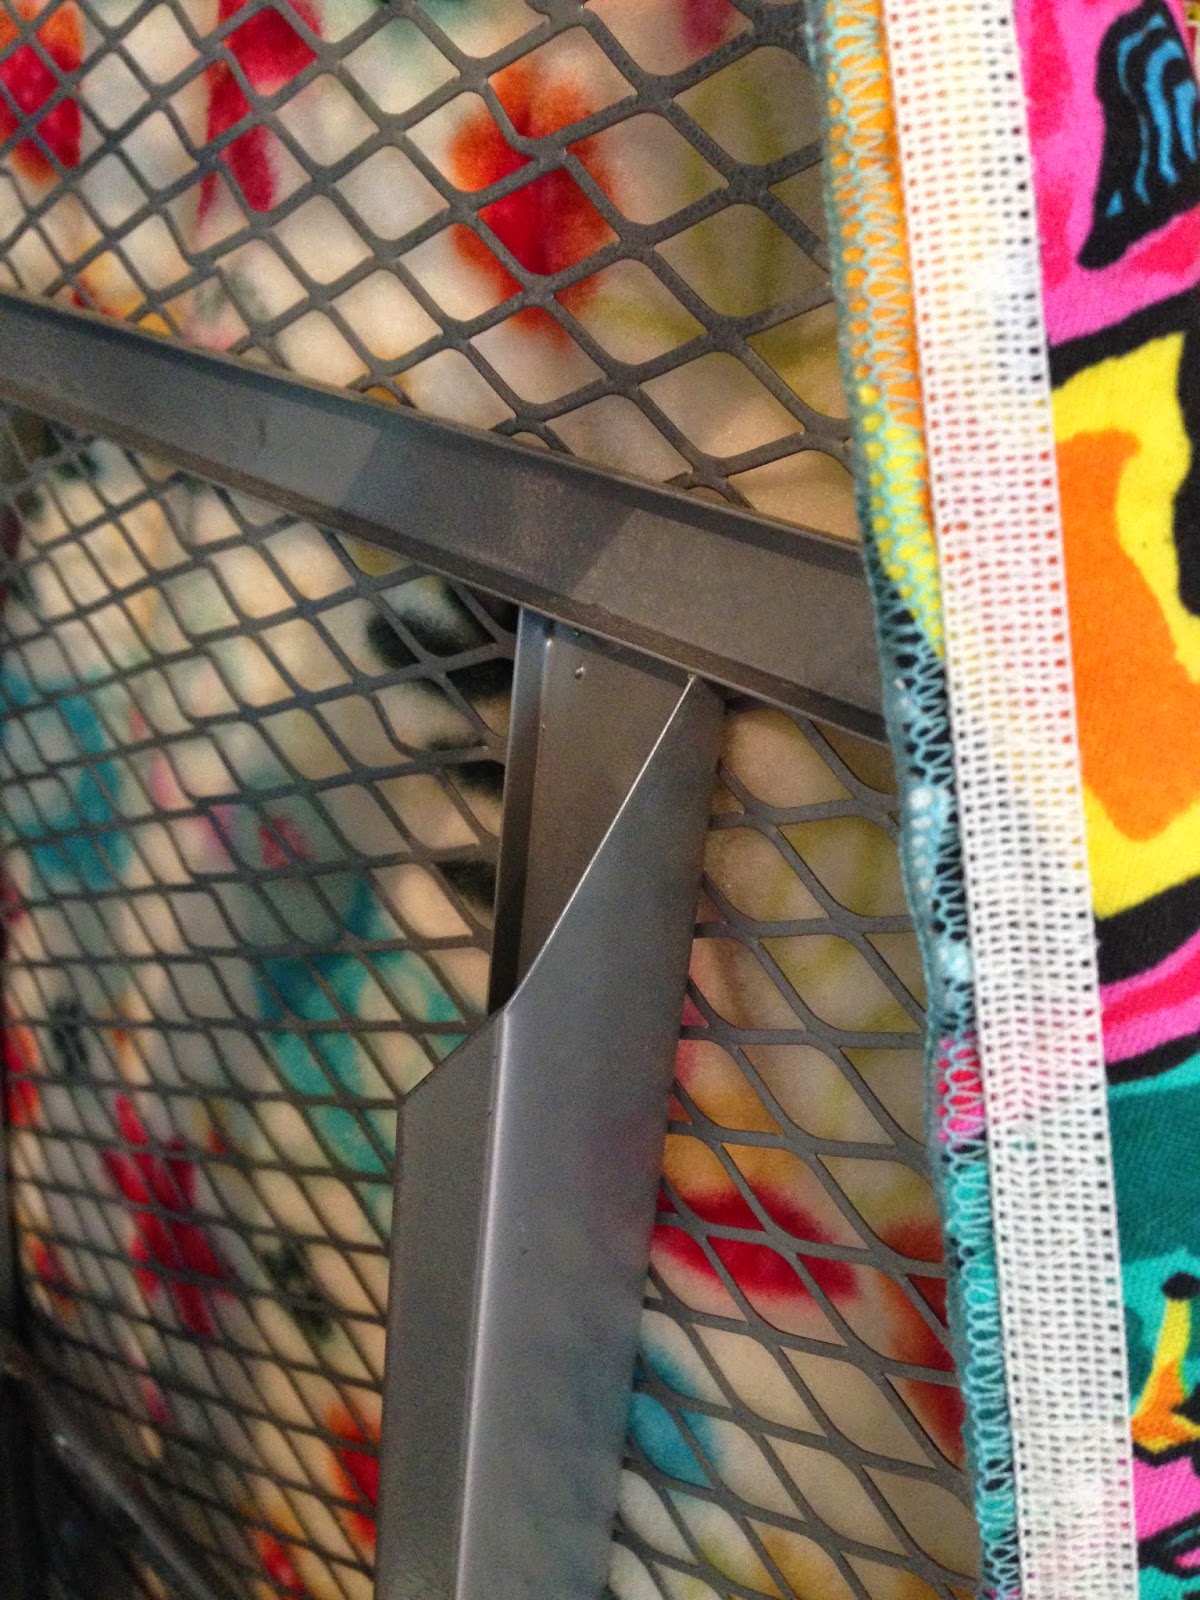 |
| Underside & elastic |
 |
| From the top. It matches nothing! But it is so cheerful! |
I know I could be way more specific about how to do this. But I really think you need to experiment and work with fabric and learn that every project is different and gaining skills and making it work is what you need. You can do it!!
Plus lots of other people have put specific directions on this here internet-y thingy and I am sort of lazy. So just get out there and try this, it is a super simple one that I will be shocked if you mess up. You have permission to email me and yell at me if you do.
Ok off to do some real work... well ... ok yeah I really have to now.
- C
No comments:
Post a Comment