Thursday, March 31, 2011

Now selling my wares at HomeGrown in Decatur, GA

Prom Night Napkins
Now that is is officially official I can tell you that I am the newest artist selling and working at HomeGrown in Decatur square, starting April 1, 2011. Head on over to their website and check it out and if you have not yet been in the shop drop by! I will be working my first shifts on April 18th and 19th from 1:30 - 5:30.

The items I am selling there will also soon be listed on Etsy for your viewing and purchasing pleasure ;)

There are just so many cute and funny fabrics out there. Many of them I can not imagine what the heck to do with them but I love them so I make them into napkins. I love funny napkins it just brightens up the breakfast table, or any meal really. We all use them everyday and love them. They are great for picnics too. And when ever you go somewhere that has good biscuits, throw a napkin in your purse so you can wrap a biscuit up in it and save it for later.  

Snack and Sandwich bags!

In an effort to support other small businesses I ordered some clip backers for the flowers pictured to the left, from a fellow Etsy shop. Well the backers are not here yet! When I ordered I did not quite realize that she was not in the U.S. and it is taking FOREVER. So IF the backers show up tomorrow the flowers will get done in time to be dropped off at HomeGrown with all the other stuff. If not I will let you know when they will be there.
A sandwich in a re-usable sandwich bag.
The snack and sandwich bags are based on the old fashioned fold over baggie that was the type we had when I was a kid. They stay shut and hold things in surprisingly well, as long as you don't use them for anything too juicy, but even cut up fruit works as long as it doesn't get too squished. I pretty much always have one full of (or just emptied) goldfish crackers, fruity Cheerios, Wheat Thins or some other toddler approved snack. And as of yet I have not had any leak out.  

Fun and useful fabric napkins! Eco friendly too.


Cute spring color headbands. 

Thanks to my sewing buddy Pearl for modeling and helping me get everything ready for my HomeGrown drop off tomorrow! I promise we will get back to our dresses next week.

Oh, and I did not win the Burda "It's Sew Easy" challenge.  However another fab blogger, Gertie of Gertie's Guide to Better Sewing did and she is super cool so you should check her out too. She was on my short list of people who I thought I could live with if they beat me and I am thrilled for her!

Peace Out - C 

Saturday, March 26, 2011

Sewing Buddies - Part 3

Yesterday my sewing buddy Pearl and I finally got the chance to get together again. We are still working on our Colette Patterns Crepe dresses. Pearl had a rather productive day and learned several things, I think.

I on the other had simply cut out the lining for my dress. My dress is silk and every time I hold it up it clings to me like a moody 3 year old and won't let go! I happened to have some light weight cotton lawn-like material in navy so - lining it is!

Pearl is new to sewing and I am trying to introduce her to all the tools I use to make sewing "easier". Well... if not easier they produce a better result. Her mom sews but apparently takes a different approach than I do. I am not a strict follow the rules stitcher but I do press a lot. Apparently Pearl's mom's reaction to all my pressing was "that probably does help" or something along those lines. Every stitcher must choose their level of "rule" following and decide what they want from their sewing.

Speaking of pressing, Pearl was introduced to the ironing ham. There are 4 darts in the front bodice and 2 on the back of the bodice and we discussed why they are there and how they help with shaping the dress to your body. She is tiny but still needs the darts to help shape her bodice.

We "cheated" and did not make muslins and are just fitting as we go. So far it is working out. But will not be as perfect as if we had made a muslin.  Fortunately Pearl prefers a looser fit and I think we will achieve that quite easily without making many changes.  

Pearl also got to try her hand at the serger. She had never used one. I threaded it and got it all set, then she serged the inside edges of her facing pieces. Yes I know there are many fancier ways to finish facings. And they all have their benefits and draw backs. But we decided for our purposes that serging was best. She is using a light weight linen blend which serges nicely. And we are focusing on her learning construction and sewing techniques on this dress and will focus on details on some other project.

This was a rather ambitious pattern for our first project together but it is going pretty well. I have a plan to catch up to her at some point.

One thing I have learned from her (and other students) is that it is harder to teach as I figure out. Meaning I am doing this pattern with her for the first time so she does not have the benefit of me having experience with it. I am having to do some figuring out as we go. Probably not the best teaching strategy but hey we are just sewing "buddies". We are just hanging out and sewing together it is not a formal teaching situation however I am happy to be learning from this experience as well. It is also nice to have some company while I sew. It can be an isolating hobby / career.

We have decided that our next project is going to be one I have done before and love and it is super easy yet turns out a great finished blouse. But we must finish the Crepe dresses first!

Hope you have a great weekend!
Peace Out - C

Wednesday, March 23, 2011

Just so you don't think I have forgotten about you.

The Auction for my daughter's school was on Saturday night. It went well and we made lots of money for the school. Also I got to wear my skirt. I did not get the shirt done in time and well it is still not done. But I managed to make it work, however it was HOT in the event room and I was wishing I had not worn a sweater.


My husband spendy spenderson must have had a good time at the Auction.


He bought a bunch of stuff. He bought a book for me, a spa set for me - it was sweet he bought stuff for me. He also bought a rather sad painting that no one was bidding on, but he also bought my daughter's class art.


It came in 3 pieces, so we went in with another parent and my mother and are splitting up the set.

The past couple of days, I have been spending time with my mother and daughter. But my mom is leaving and M is going back to school today. So I have got to get back to work.

Now what is it that I am working on? Well I sort of can't tell you yet.... I am waiting to finalize a few things before I announce my latest project. I just don't want to jinx anything. But if you don't hear from me for the next week or so it is not because I don't love you. It is because I am super busy getting some work done!

Here is a peak at some of the fabric I am working with....


Friday, March 18, 2011

Shirt still needs buttons?!?!?!

How has this whole week already gotten away from me?

Volunteering at my daughter's school is the thing that has sucked up most of my time this week. They are having this huge fancy fund raising auction and I am in charge of marketing and AV. I did all the flyers, emails, posters and programs as well as the slide show of all the kids making the art.

I have spent hours on this thing, AV check with the event facility is at 2. And I just finished the slide show, phew! But it is already after 10 and my house is not clean and my mother is in the car on the way here right now. Fortunately I don't think she will care about the mess, but I do.

The week started with such hope and promise of sewing getting done. I finished the skirt, that I am going to wear to the auction! Yeah! But not yet finished with the shirt. On Tuesday morning the shirt looked like this.......


This is how pretty much every project starts, big pile of pieces and a cup (this was my 3rd that day) of decaf. The pattern is McCalls M6035 and I LOVE it!!! I have made it once before. It has cup size options. So I cut a 14D which is about a RTW 10 with a much increased chest area.

The thing that really makes this style work for me is the arms. Right now (I am working out like a fiend these days) I have rather large arms I the poofy sleeve. But it is just the right amount of poofiness. Not too much, not like a pirate costume or anything. But just enough to camouflage my chicken wings for now.

One tip about making a pattern you have made before: measure and fit as you go. The first time I made this I must have made some fitting adjustments that I do not remember doing and did not write down or I have gained weight.  Well ok I KNOW if have gained a few lbs but the previous version still fits. Any way...... I was able to make it work by decreasing the seam allowance on the side seams to tiny. And then the shirt fit perfectly all over again.


It is almost finished. I just need to hem it and add buttons. But Dear Readers, I am stuck! What type of buttons should I use? And what type of hem? Maybe pearl buttons and a bias tape hem? It is just a white shirt. But the reasons I wanted to make my own white shirts are; 1. so it will actually fit and 2. so it can be a little different. If I manage to get my shirt figured out and done I will wear it with my new skirt to the auction. If I do not well, a  little floral embroidered cardigan from Target that I already have will work in a pinch.

Oh and I have a confession to make, I bought a dress. I know I know I have piles of fabric and patterns of the dresses that I have plans to make. But I was out helping my cousin shop and I got sucked in! It is green linen, has ruffles and a great cinched-pleated waist. And it was only $40.00!! The TJMaxx in Buckhead is AMAZING!! I mean seriously I will have to think about visiting Buckhead more often. Any way I just feel like I cheated somehow buying a ready made dress but really I could not have made it for the price so there ya go.

Have a great weekend! I am off to clean and organize. Oh and I better call the printer and check on those programs........

Peace Out - C

Monday, March 14, 2011

Ahhhhh Skirt!

I have to admit I have fallen sadly behind on my participation in Me Made March. Something had to give and that is what fell off the radar. Ce La Vie!  Life gets in the way sometimes and we just have to make the best of it that we can.

I have all sorts of commitments that I am working on but I decided that today I needed to squeeze in working on a project for ME! Well for one reason I have an event coming up on Saturday and until I finished this skirt I had nothing to wear!


Here is what the skirt looks like BEFORE I add the crinoline slip that I make to go with it!

A few weeks ago Talbot's featured their Champs-Elysees skirt on their cover. I think the biggest mistake they ever made was featuring this skirt with a crinoline under it. Below the picture in small print it said crinoline not available! What? Are they crazy? It looked AMAZING and they weren't even selling it. Well I tell you I have been thinking about that skirt with the crinoline ever since.


I even went to good old Talbot's and tried on the skirt ready to fork over the slightly staggering $89.00 that they wanted for it sans crinoline. Well in a twist of fate it did not fit right at all. The 10 was too tight and too long the 12 was too loose and even longer. The petite hit my hips all funny. All of this is weird beacuse I am usually a text book RTW 14.

I decided that I would find a pattern and make myself a skirt WITH the crinoline. Now the questions, "can I pull off the crinoline look" and "am I too old for this"? Well those are yet to be answered. I went with the pattern for Simplicity 2413 which is a Project Runway pattern. It is one of those patterns that you can choose all sort of options and "make it your own". So I did I choose skirt B without a bottom band and the belt from skirt A.

It was a fairly simple skirt to construct. However this is my first ever attempt at an invisible zipper and of course I chose to insert it in with a pocket. So it is not an an entirely invisible zipper but it is in and functional and wearable.

When I finished the skirt I realized it is VERY see-through. Well I was hoping for a crinoline any way so I took the super cheap and easy route on making a crinoline slip. I started with a boys XL white t-shirt that I had left over from another project. First I cut the top of the shirt off at the sleeves.


I am using the body of the t-shirt as the main portion of my slip. The skirt is made of cheap taffeta and I really just want the slip to keep it from being so see-through. But the fact that the t-shirt is all nice and soft is a bonus because this skirt is very stiff and itchy without it. Next I used lingerie elastic to create a waistband for my slip.

 
 I did not finish the cut edge of the t-shirt. I just sewed it to the elastic as is. It will not fray and this is not something I am going to wear much. I just zig-zag stitched the elastic on to the waist of the slip.


The nice thing about starting with a t-shirt is that I used the finished hem of the t-shirt as the hem of the slip.


Next I added the "crinoline" to the slip. I decided I just wanted to the crinoline part at the bottom of the slip because I wanted it to peek out of the skirt and look cool. But I do not need any extra poof anywhere! I have enough poof of my own. So I gathered up my sparkly champagne tool using a piece of cord and a wide zig-zag stitch.


You pull the cord and is gathers right up. Then I pinned the gathered tool to my new slip and simply stitched it on. Here is what the finished crinoline slip looks like alone.


Then I put the slip on under the skirt and viola! Now we have the full skirt with peek-a-boo crinoline that I have been wanting for weeks.


The really funny thing about this skirt is that this fabric was supposed to just be "practice" fabric. It was $3.00 a yard and I just wanted to test out taffeta. But I feel in love with it as I was working on it. 
I even added touches like lace hem tape on the inside to make sure it was pretty on the inside too. Which I almost never bother to do. But somehow simple serger thread did not do this skirt justice.


I also top-stitched the belt. I am hoping that it will help the bow keep its shape when I wear it. I have grand plans to make a white button up shirt to go with the skirt for Saturday. And since it is already cut there is a hope it will get sewn in time. But I have some other options of tops I think if the shirt is not ready. And I know I have the perfect shoes! We will have to see if the whole outfit comes together and how it looks before I officially decide if I am going to make more like this skirt. But so far I sort of Love it!

Peace Out - C


Tuesday, March 8, 2011

You like me! You really like me!

So I entered the "Fiskars Unzipped Tutorial Contest" over at Burdastyle.com and I am one of the runners up. Here is the link to the winners page:
http://www.burdastyle.com/blog/meet-the-winners-fiskars-unzipped-the-tutorial-contest.

I hope you can see it without being a member of the Burda Style website. But if you can't basically it was my "How to hem jeans" tutorial. And I win a set of Fiskar scissors. Super Cool! Thanks Burda! I look forward to doing some more cutting when I get home.

Peace Out - C

Monday, March 7, 2011

Me Made Clothes go on Vacation

So I am on vacation with the fam. Vacationing with a 3 year old keeps you a little more "in the condo" than before we had a kid, so while she watches some post bath TV I am writing this. We are in FL visiting my in-laws aka "the Grandparents". We are having a nice time. But the thing that I am thinking about is the fact that I have been able to successfully continue Me Made March even while on vacation.

Outfit #1 of the day
I don't know about you but when I am on vacation I end up changing clothes more times during the day than I would at home. This is my first outfit of the day. My "yoga" skirt, it is a skirt I made on the serger out of a big rectangle of knit and a piece of elastic. It has a folder-over waist like yoga pants is why I am calling it my "yoga" skirt. I LOVE it and as soon as I buy some more knit I will make another one and do a tutorial on it.  The shirt is an old shirt that was not my favorite when it was plain white but I tie dyed it a few years ago and get a lot more wear out of it now.

Outfit #2, Beach Attire
After lunch we decided to head to the beach. So I put on this Me Made top and some capri pants and was ready for the sand. It is basically a big rectangle with a neck cut out and covered with satin bias binding. The sides are sewn in to create a sleeve and that is about it. Nothing fancy but it was super comfy all afternoon.


My cute hubby wore a shirt that I made for him today too. So it was a Me Made family affair. Marion has been only wanting to wear her bathing suit. But I do have to say that if I looked that cute in a bathing suit I would wear it all the time too.


Hope you are having a good Monday where ever you are today!

Peace Out - C

Friday, March 4, 2011

My sewing machine is capable of so much more than I ask of it.

A few weeks ago on a sunny Saturday afternoon I went out shopping and wandering about the city with my cousin. One of the stops we made was to a big book store. And as I always do I poked around in the craft / sewing books section. There are SEVERAL books that I have been eyeing and would love to buy but I am trying to pace myself.  This trip I did buy a book that has already changed the way I sew! It is The Sewing Machine Attachment Handbook by Charlene Phillips.


I think this is one of the most useful books I have ever owned. After I read it cover to cover - which is rare for me to do with any type of non-fiction book, I bought 4 new feet to use on my machine. And I actually started using some of the feet I already had and was not sure what to do with.

So far my favorite new find is the "adjustable tape-stitching presser foot". I now know that there is also a different foot called a binder and that one looks amazing too and I am sure will soon be bought. I used the tape-stitcher foot to work on the aprons I made yesterday. I wanted to use bias tape to bind the edges and make them look professional and like I put a lot of work into them. Let me tell you this new foot was a HUGE time saver.


Basically it holds the tape for you and you do not have to pin or glue stick (my preferred method) the bias tape to what you are making to stitch it. It also makes straps out of bias tape beautifully! I alway had such a hard time making any bias tape straps.  See how the tape fits into the two slots. The book has great step by step pics on how to use this foot and all the feet she talks about.

  This is the GIANT roll of bias tape that I made for this project. Did you know that a yard of fabric makes a ton of bias tape? Well I sort of did but it did not really dawn on me until I started cutting and saw how much it really makes.


You can see the finished apron on yesterday's post. But from now on when I am struggling with how to make something work I am going to consult my new little blue book of solutions and figure out what attachment would be making my life and my sewing easier and more enjoyable.

If you are not familiar with the attachments for your machine I highly recommend picking up a copy of this book, you won't regret it.

Peace Out - C 

Thursday, March 3, 2011

A few steps closer to finishing my projects for other people!

My daughter's preschool is having this big fancy Auction. The childrens' artwork will be auctioned and there is also a silent auction of items donated by parents, family and friends. So that I did not have to run around town asking for auction donations I am in charge of marketing, AV and photography. Yes it seems like a lot but all within my skill set. Asking people for money and stuff or anything having to do with finances are not the jobs for me.

In addition I decided that I would donate a couple of my items to the auction. Parents who have participated in previous years said that handmade items sell well. All proceeds go towards spiffing up the school.


I decided a pretty spring Mom and Daughter apron set would be a great item for the auction. The daughter one is exactly the same only in miniature, it is toddler size since everyone there will have a kid in the school under 5 I figured it was a good audience for this.


And since whenever I talk to people about the aprons I make they ask me about aprons for men and boys I also made a Dad & Son set. On this set I did more detailing since I drafted such a simple pattern for them. And I busted out my new binding foot and learned how to use it! But I will tell you all about that tomorrow.

Peace Out - C

Wednesday, March 2, 2011

Sewing Buddies - 2nd meeting

Today I managed to actually get a lot of sewing done. I finally finished a project that had been haunting me. And I met up with my sewing buddy Pearl.


We are still working on our Colette Crepe dresses for ourselves. This is Pearl finishing up cutting out her interfacing. We went on another little field trip today and bought thread, appropriate machine needles and interfacing. We are using the sew in variety since our fabrics would not work with fusible.  Pearl actually got to the point of sewing a few pieces today. I did not.


I am making my dress out of silk. Which is incredibly difficult to cut. Well time consuming might be a better description. Since I could not fold the silk and keep it folded and cut that way I had to cut each piece out individually. It took forever! But now it is done and in a couple of weeks we will get together again and work on some more sewing. Of course I had to pick the most difficult way possible to make a "Beginner" pattern. I am really hoping that I can get this dress made by the end of the month.

Peace Out - C

Tuesday, March 1, 2011

Got to spend the day with my sweet daughter.

Yesterday morning I was trying to get my daughter to go to pre-school. She refused and told me that she wanted to stay home and spend the day with me, "working". So I let her stay home and we spent the day cleaning, doing laundry, running errands and other chores. I tried to make the day as un-fun as possible.

I know, I know, how do I get talked into her not going to school? Well she is only 3 and was really sweet. Once again I was knocked off my parental high-horse, it is hard to make kids do things they do not want to do. But I would have tried harder if I had needed to.

I was super duper frustrated at the beginning of the day but by the end of the day my sweet daughter had given me enough hugs, kisses and snuggles to soften me up. She is such a sweet spunky fun gal. I love my little peanut.

We went to Stone Mountain Park over the weekend and I was able to try out some new photography techniques that I wanted to try out on my camera. She is a pretty good model.


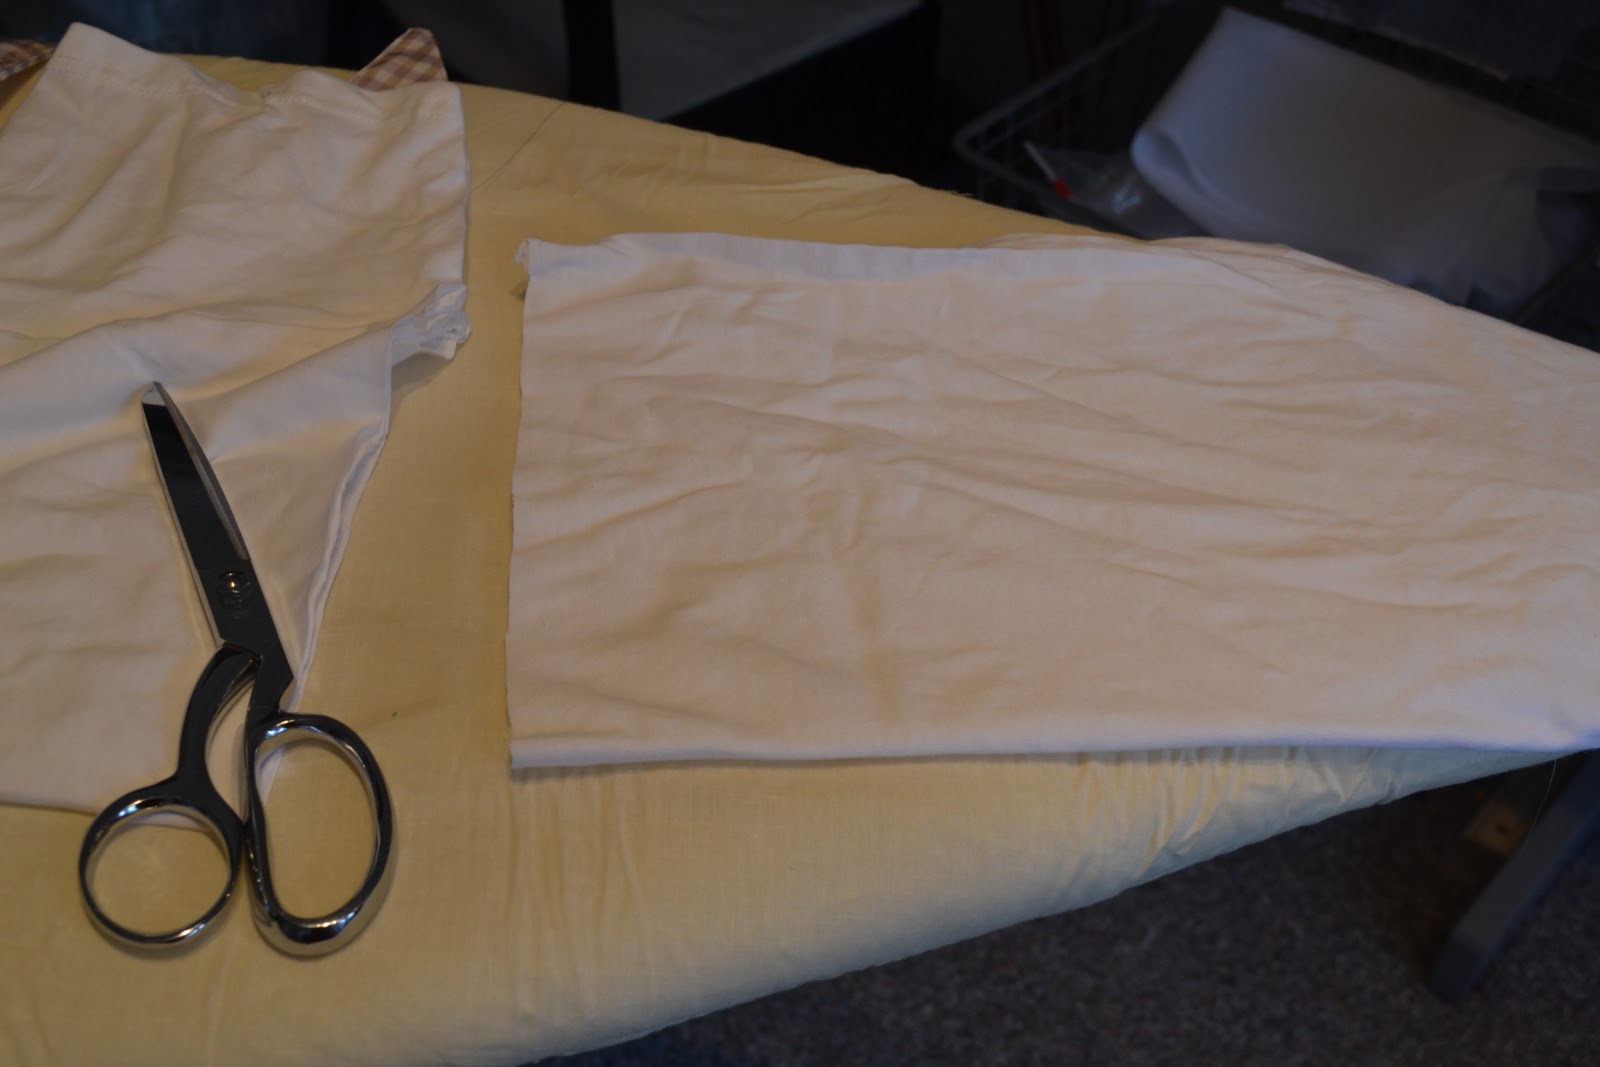
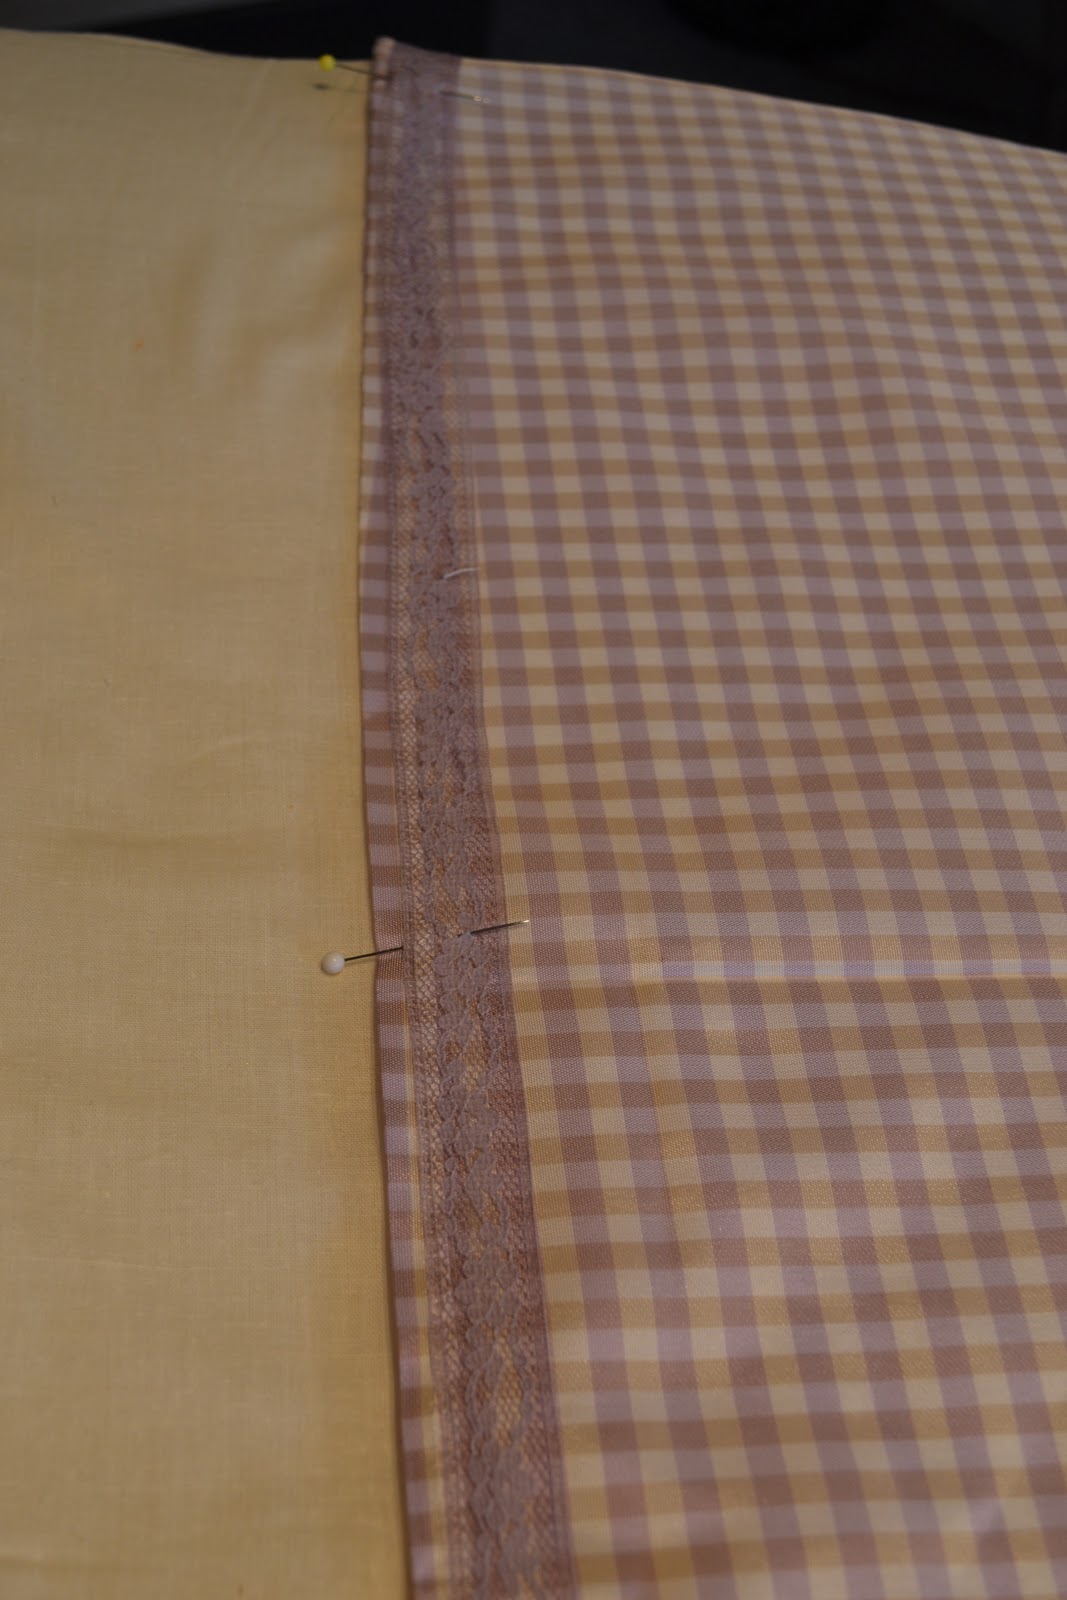
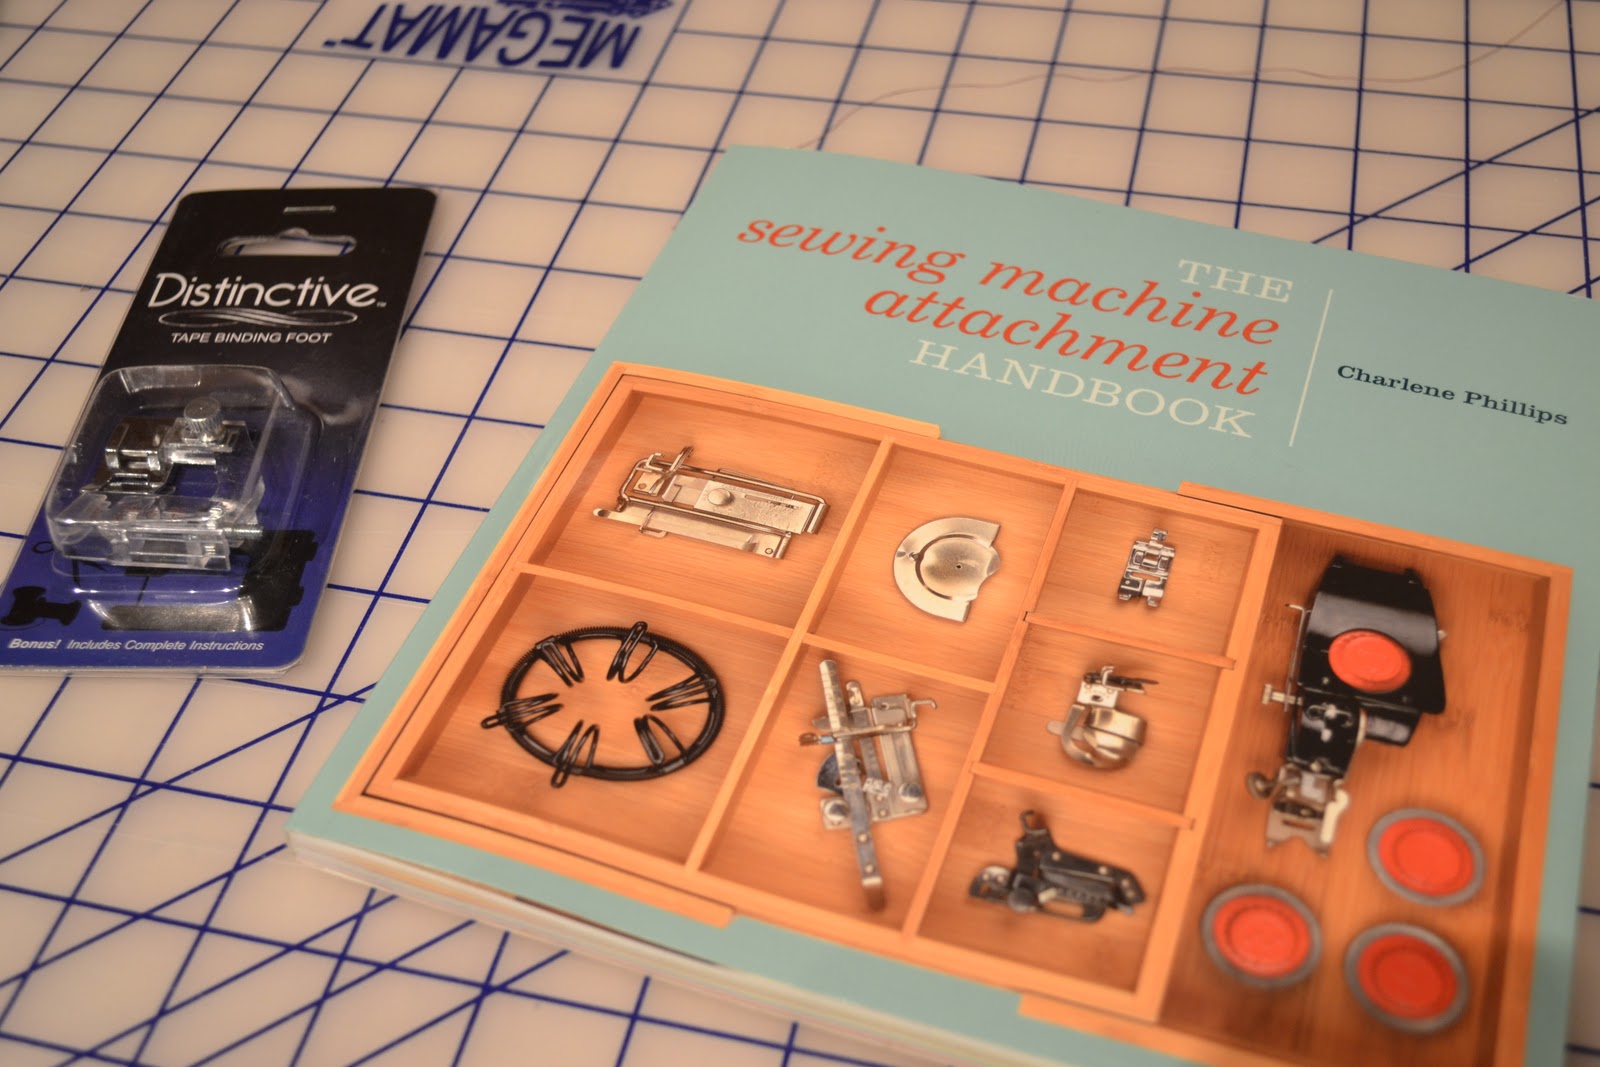
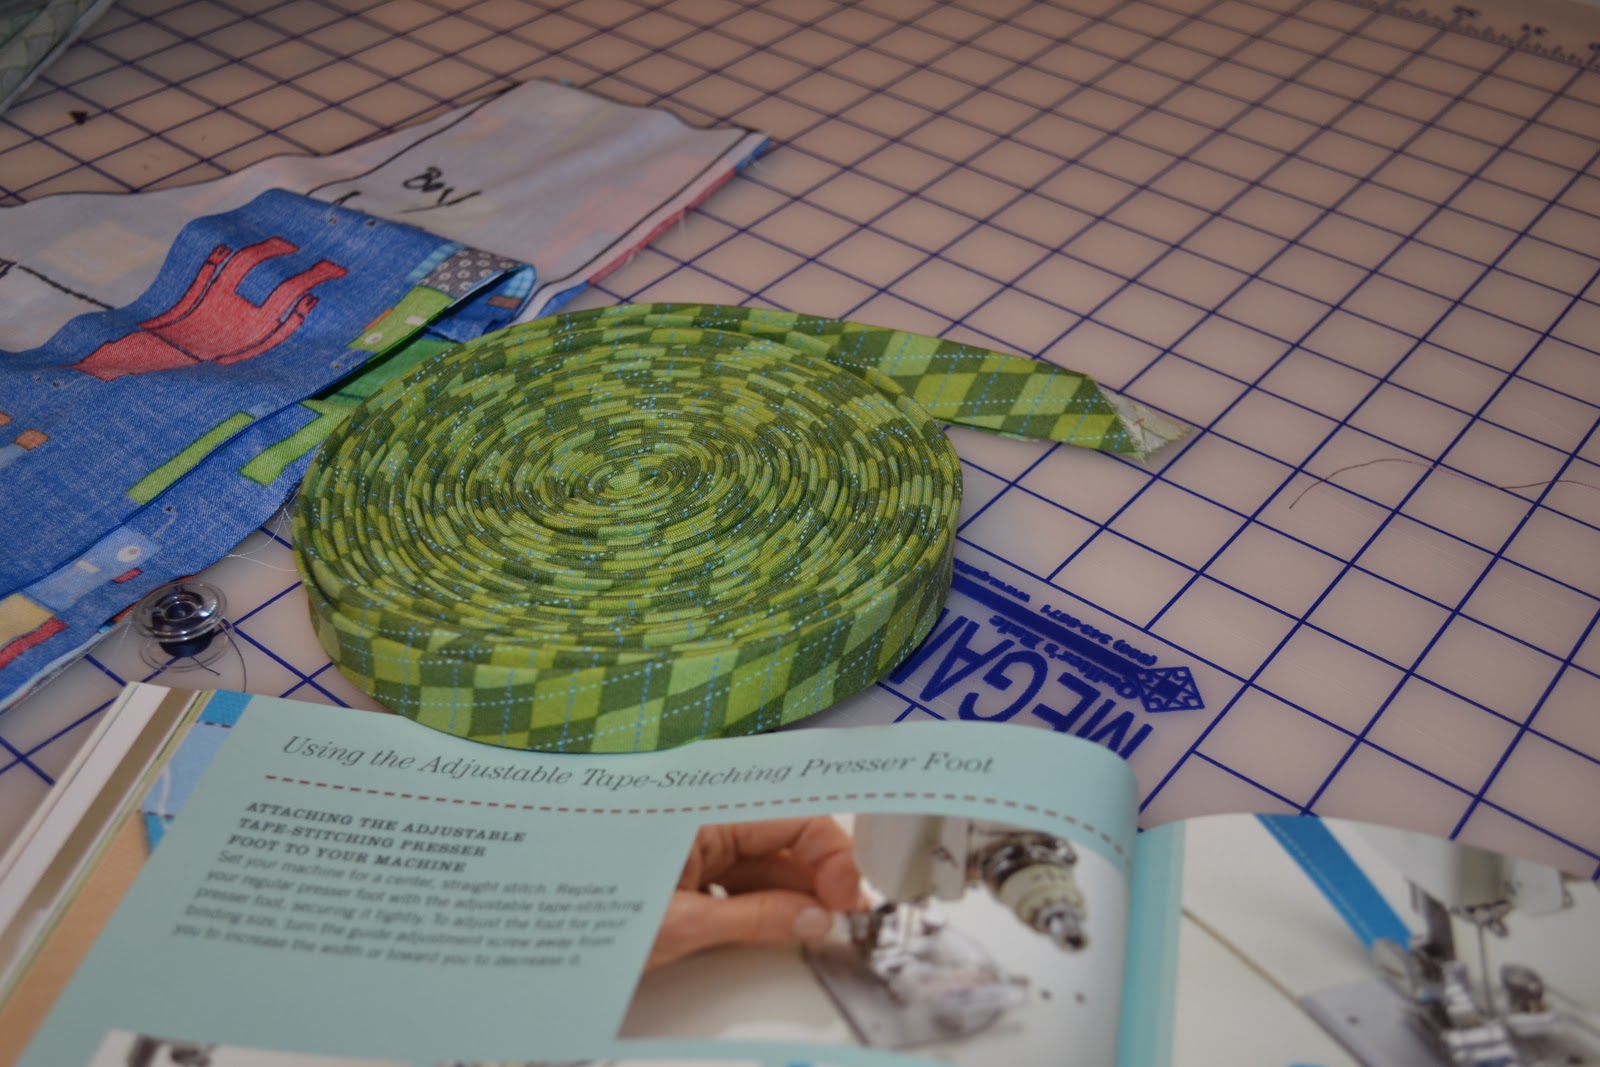
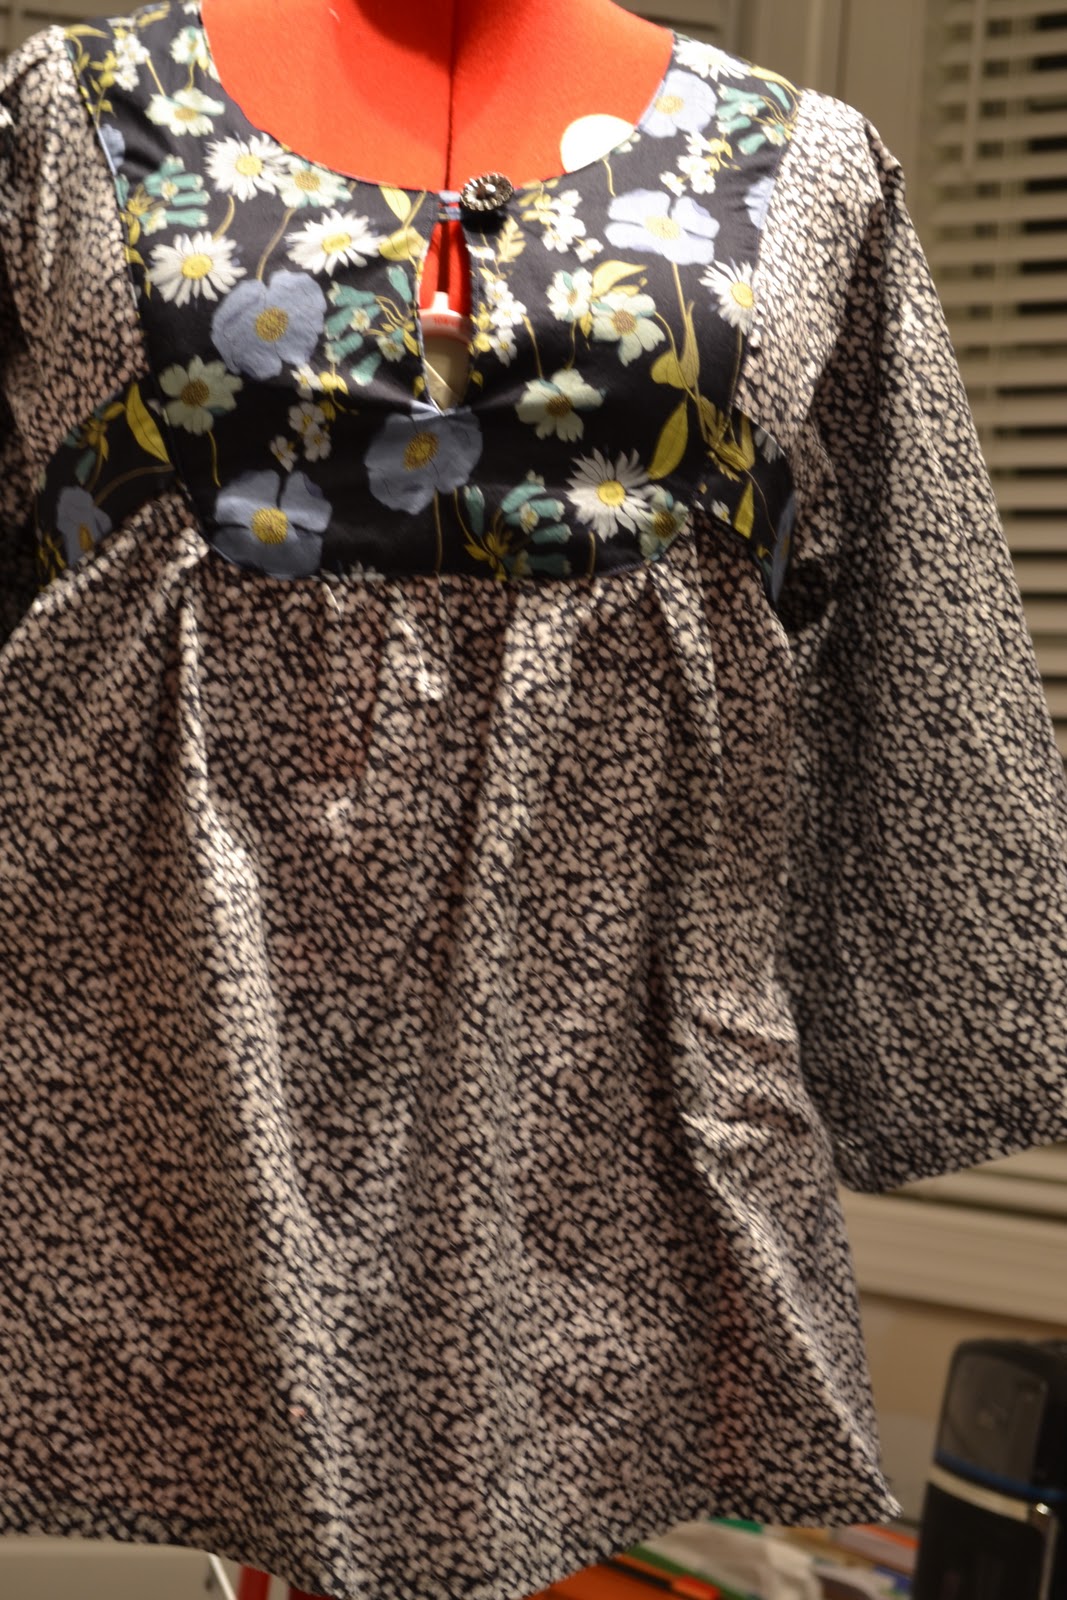
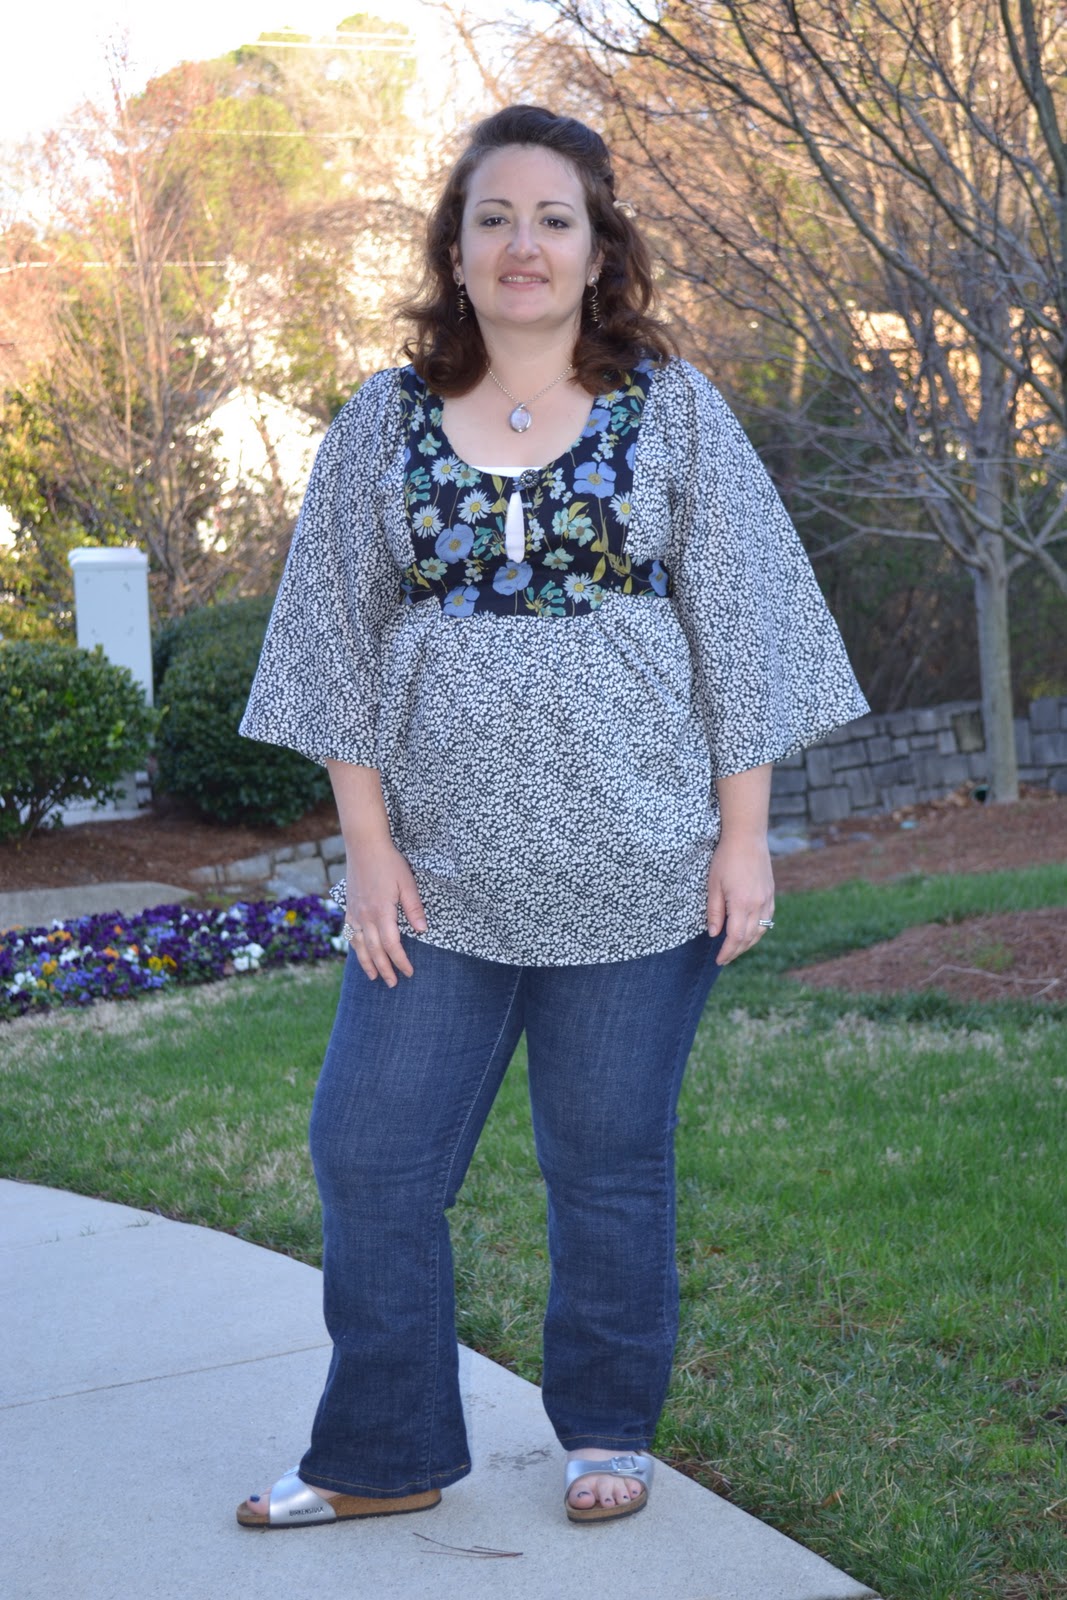
Now on to me! The second item I have completed for Me Made March aka MMM (yes I finished it yesterday), I finally cut some of my Liberty of London fabric.


I was so nervous cutting this fabric. It is gorgeous and was crazy expensive. But I made a decision and went with it. I have been in love with navy blues lately so I paired the 
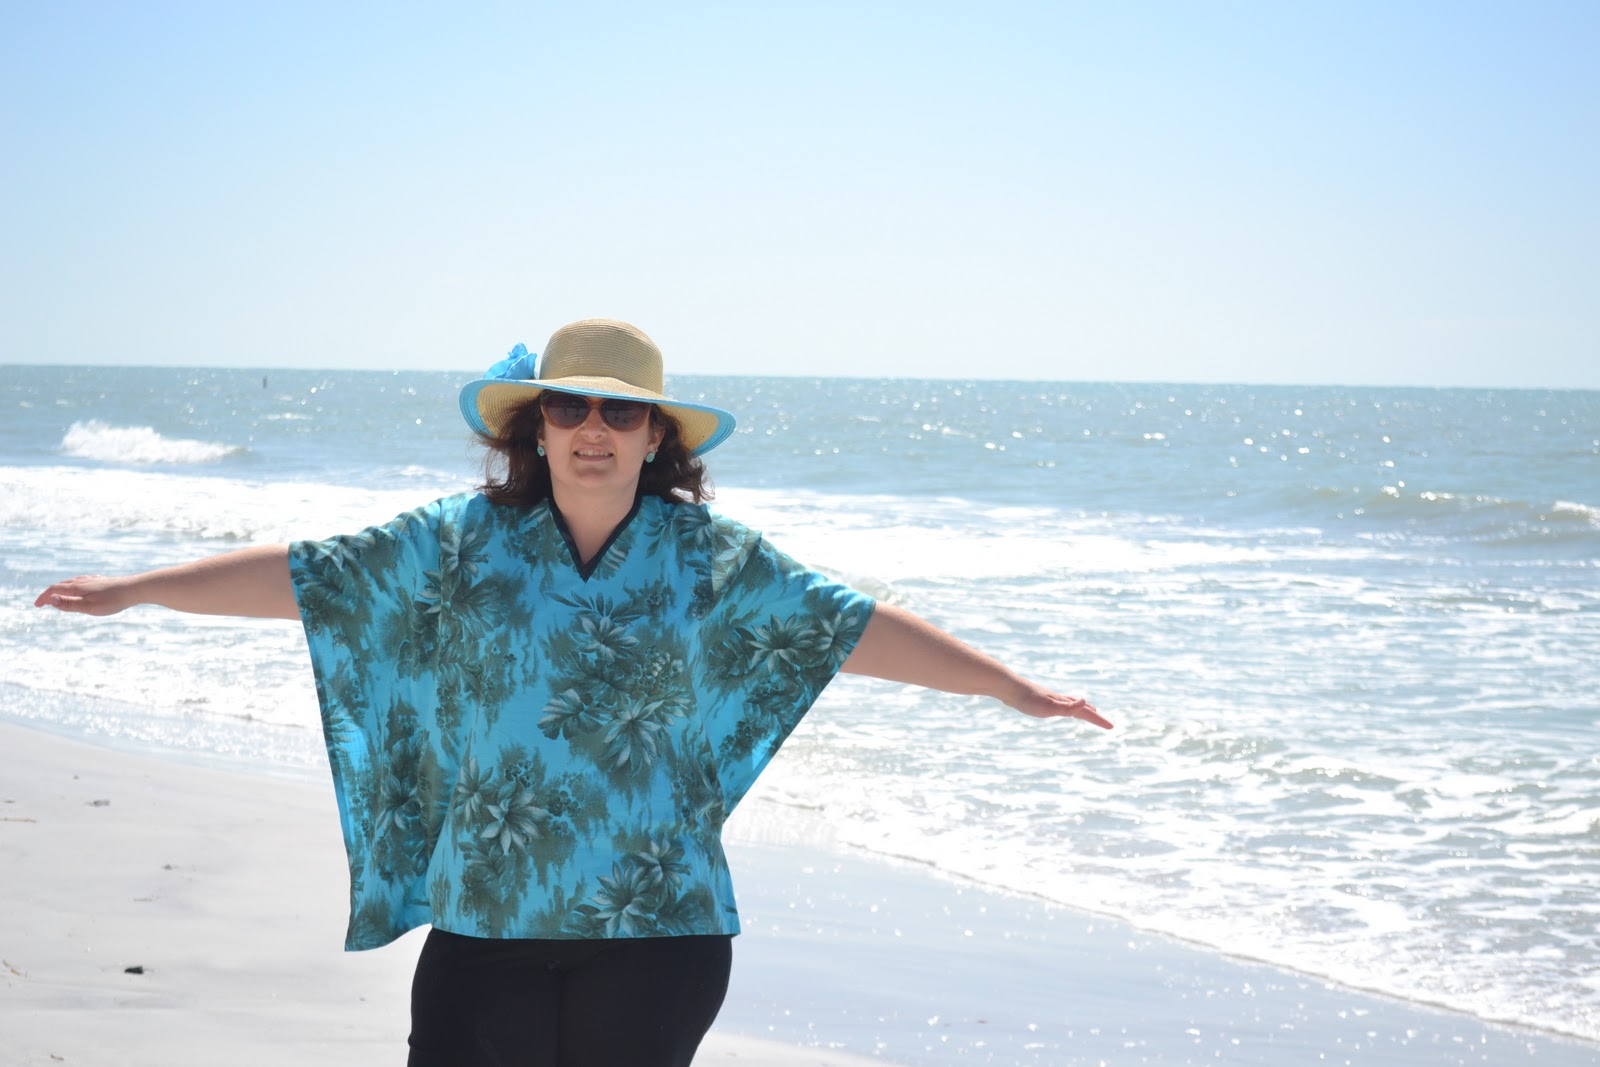
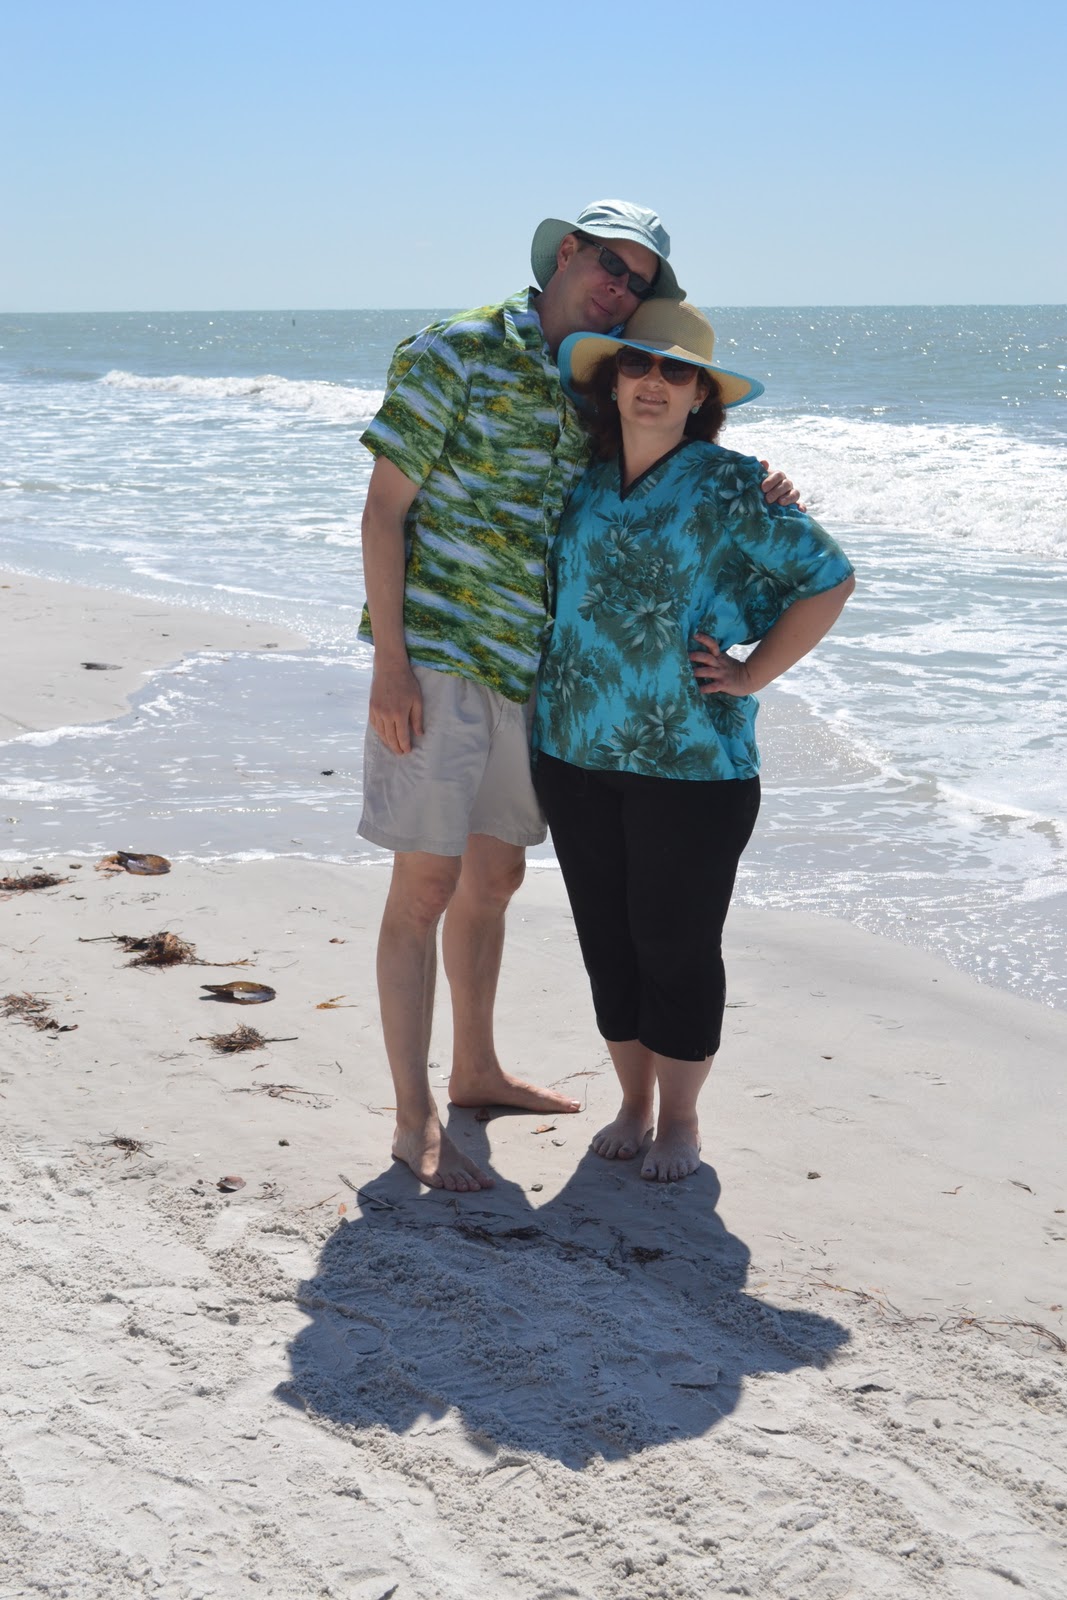
Liberty Glenjade (one of their classic prints) with some lovely Alexander Henry blue floral for the bodice. And a buttons from my Nana's button box as a finishing touch. It is all cotton lawn so it drapes nicely and gives that great hippie vibe while still being modern enough to not look like a costume. You guys know my pet peeve is going so much into one era that you look like you have on a costume. There will not be bell bottoms worn with this top!

When I tried it on last night I did not have on the proper undergarments and was horrified that I had spent all this time and effort on something that was not wearable. But this morning I tried it on with the proper under things and it looks just as I had imagined it would. And I am wearing it with my "fancy" silver Birkenstocks, which were not available in 70s to my knowledge and are therefor a nod to the era with a modern twist.


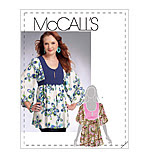
The pattern is McCalls M5808 and is no longer in print. But you can buy it on their website. I am planning to write a review of the pattern on Pattern Review so look there if you are interested in more details about the pattern.

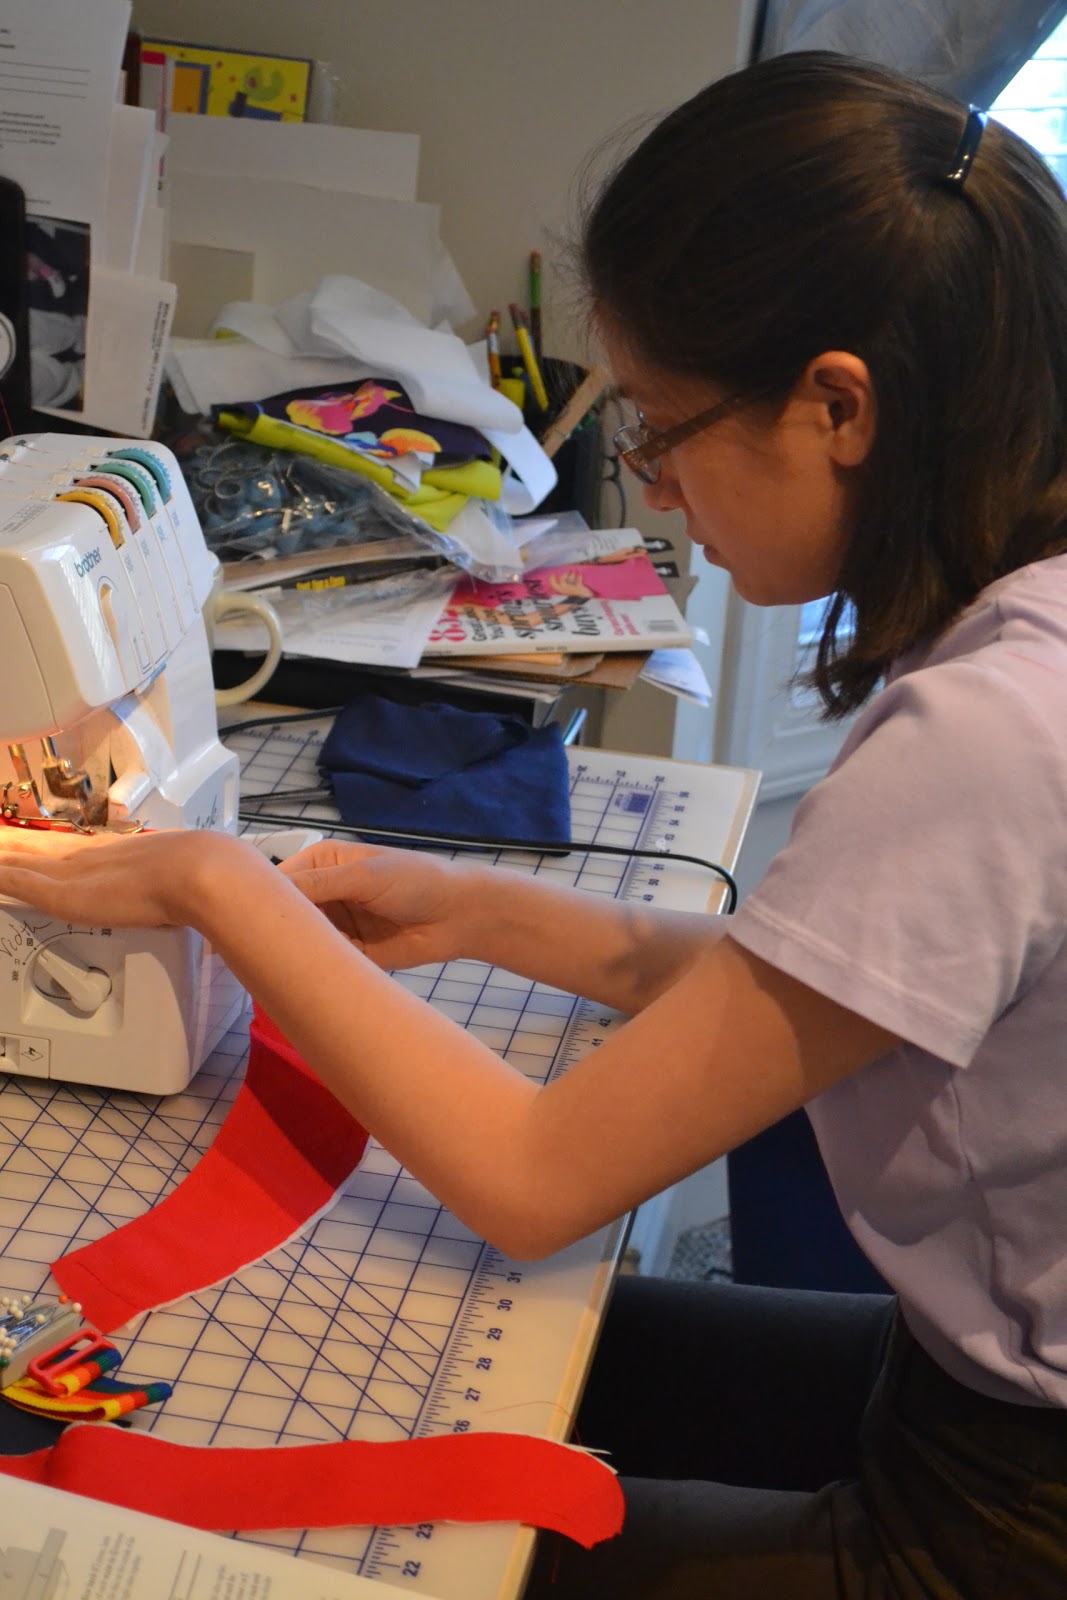
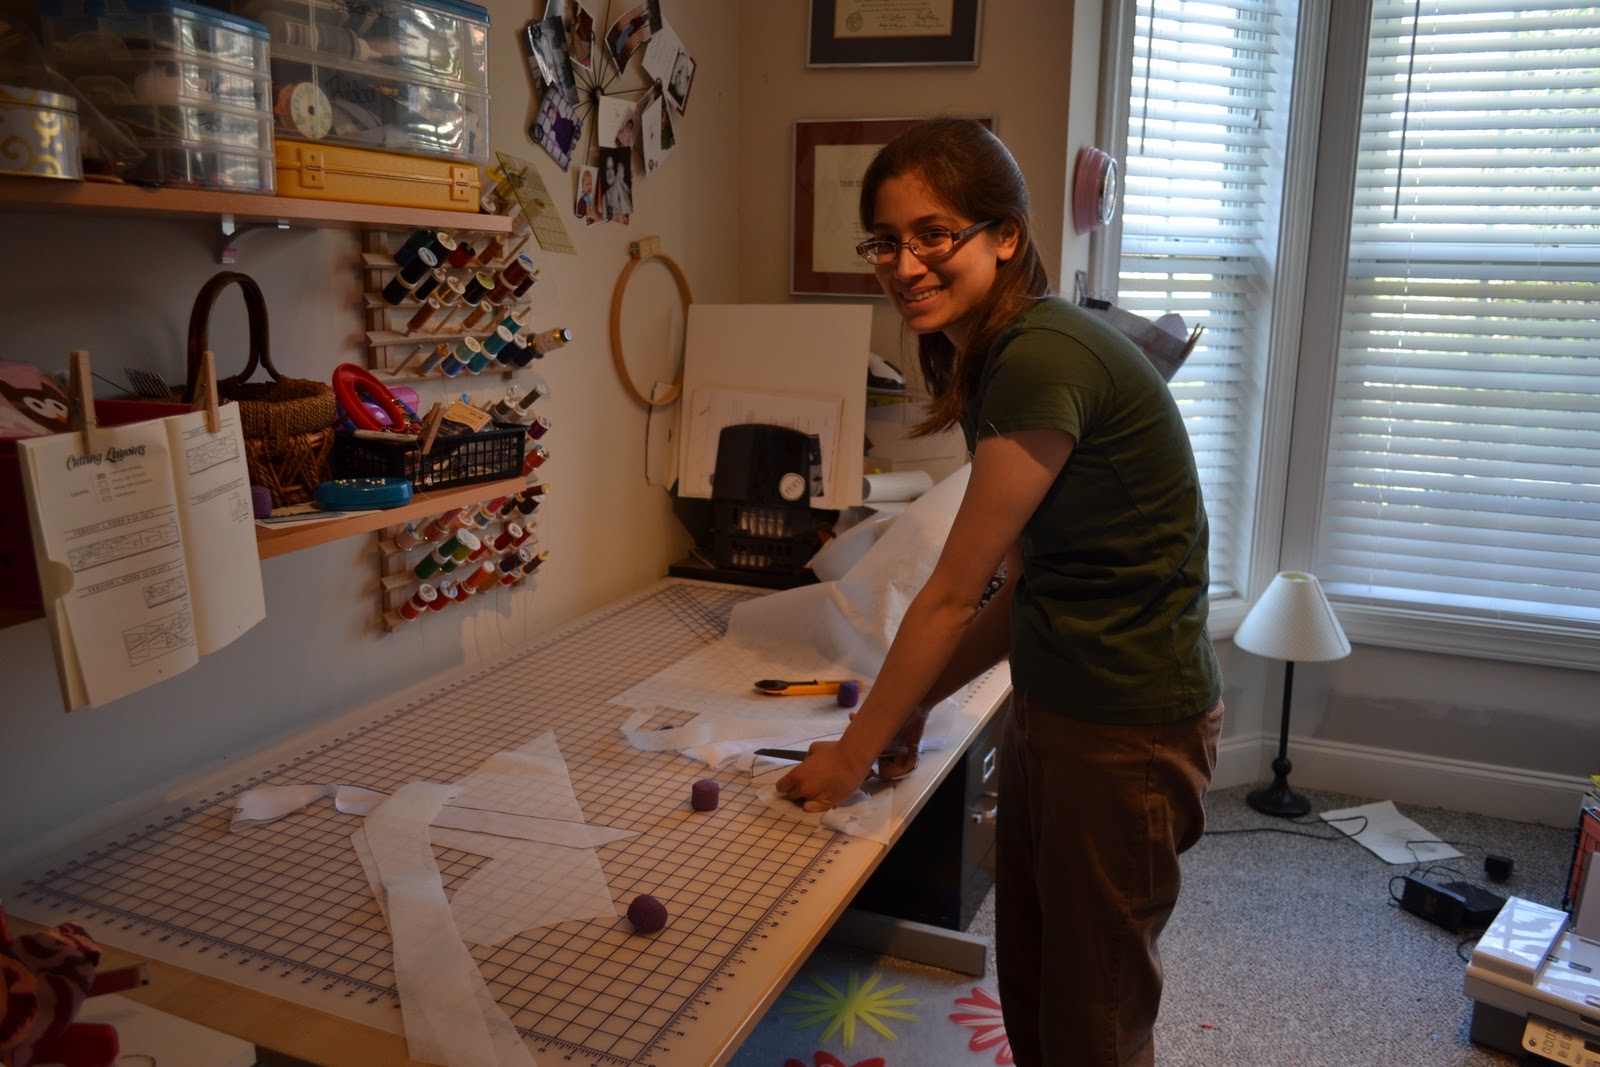
Since I spent all day yesterday doing all my house work in an effort to convince my daughter that staying home is not as fun as it sounds, it is for once all done!  So today is going to be on an at home sewing retreat! I am so excited. I am really hoping to make some progress.


Here are my goals for today.
1. Complete at least one shirt (need something to wear tomorrow for MMM).
2. Complete the 2 remaining aprons I have obligated myself to making for my daughter's school auction.
3. Cut out some more clothes to be sewn later this week.

Now I better get off of here and see what I can get to.

Peace Out - C